HOW TO AVOID LOSING YOUR PHOTOS
I wondered if this post would be stating the obvious; couldn't I rename this 'how to not be an idiot'? Maybe, but most of us have lost photos at some point so it's worth going back to school on the subject.
If you're new to photography and haven't yet been though the horror of losing photos, try to keep it that way by following the steps below. If, like me, you've lost photos despite knowing better perhaps you should read this every now and again too. I'm considering getting it tattooed.
I once bought several SD cards before travelling to Australia and kept my photos on the SD cards even after I'd copied them to an external hard drive. I was told it was overkill but when my hard drive corrupted and lost the files, I thought I'd cracked keeping photos safe.
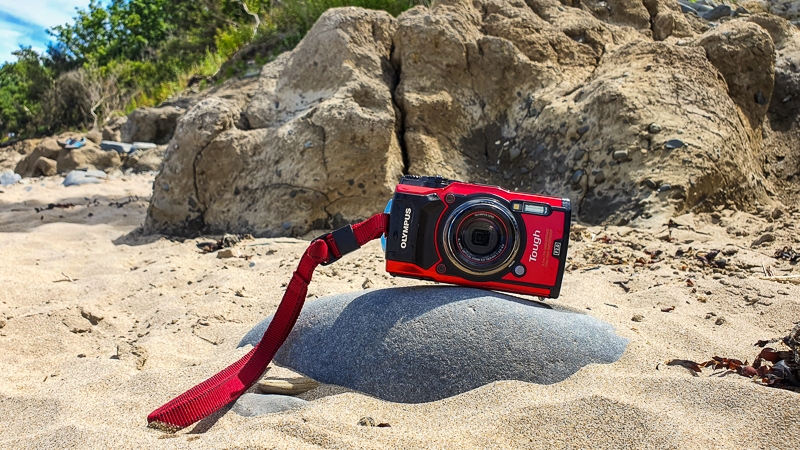
My luck ran out six years later when my beloved Olympus Tough dropped from a paddle board in Tenby, complete with my holiday photos, and never returned. No, I didn't have the wrist strap on. Yes, I know I should have backed the photos up. Yes, if I'd been shallower I could have picked it up. No, I couldn't find it at low tide.
Here's how to not do what I did.
1. Don't think you're immune to losing photos
If you think you'd never be stupid enough to lose your photos, the gods of photography will humble you sooner or later. It happens to everyone. Being told that in hour two of crying about losing your camera doesn't help (trust me) but it really does happen to everyone.
There's no need to be so paranoid about it that you can't enjoy photography, but accept that you, your camera, and your SD cards are susceptible to acts of silliness and failure and mitigate the risk as best you can.
2. Always keep your photos in two or more places
How overboard you want to go is up to you (do your backups need backups?), as is whether you put your trust in the cloud, a hard drive, or hedge your bets and do both. Whichever way you do it, always keep your photos in more than one place.
If you're only using physical storage (e.g. a computer and an external hard drive) periodically dispatch one to a different location.
Any time your photos are in one place they're at risk. If that one place is an SD card or a hard drive, you're in hot water - physical storage options go wrong a lot. If that one place is the cloud, you're in uncomfortably warm water - Google Drive has done me dirty and lost my work before.
I have my photos (when I behave sensibly) in iCloud and Lightroom's cloud, but you do you.
3. Back your photos up as soon as possible
If, like me, you find yourself taking out a camera that has days' worth of photos that haven't been backed up, go and put yourself on the naughty step.
Even if you just stick them all into a folder called 'to sort folder number 349' to filter through later, try to get them somewhere safe before your camera goes out into the big wide world.
I Googled 'how to avoid losing your photos' and the second result was an article that suggested backing up your photos to DVD every day. Burning a disk - what a great blast from the '90s. Thankfully copying over photos is much easier these days, although you'll need to make sure you have enough disk space for local storage whilst the files upload to the cloud if you're dumping photos before you go out.
4. Check your sync settings
The easiest way to back up your photos is to use automatic syncing. For instance, when I drag files to my iCloud folder on my Macbook, it automatically uploads them to iCloud. When I add photos to Lightroom, it automatically backs them up to Lightroom's cloud.
Usually these sync options need to be set up or enabled before they'll start working. Keep your settings up to date - install updates, periodically check that sync is working by accessing your photos online or from a different device, and keep your storage plan up to date (if you run out of paid space, the sync might stop).
Hovering over the sync icons for the relevant app or folder will usually tell you whether your files are synced or, if not, what the problem is or how long the upload will take.
Remember that syncing won't work if you don't have a connection to the internet. If you transfer your photos onto another device when you don't have internet connection, don't delete them from your SD card until you're sure the images are synced.
5. Don't put all your eggs in one basket
If your camera takes a single SD card, you're putting a lot of pressure on that little piece of plastic and metal if you take all your holiday photos on that one card. If you don't have the time (or the will) to back your photos up every night, at least spread the risk by rotating SD cards - if one goes wrong, at least you won't lose everything.
If your camera has two SD card slots, set it to write to both. But don't get all high and mighty - having an expensive camera with two slots probably just means it's more likely to get stolen, in which case you'd have neither of your SD cards. So, the rotate rule applies to you too.
There's a reason why wedding photographers never use a camera with only one SD card slot. If you're taking photos of a once-in-a-lifetime memory, consider using two cameras or borrowing or renting one with two SD cards if you're able to. If that isn't possible, consider rotating SD cards during the day.
Keep SD cards you're not using in a case to reduce the chances of them breaking. This is from someone who regularly finds her SD cards in the detritus at the bottom of her backpack.
Keep them in a different place to your camera so that if your camera is lost or stolen the SD cards don't go with it.
6. Keep your camera safe
I'm gunning hard for the 'stating the bleeding obvious' award now, but this is from someone who dropped a camera in the sea.
If you've backed up your photos every night like a good photographer the thought of losing your camera will be less horrifying, but nobody wants to deal with an insurance claim.
Just do all the things your parents told you when you were young: put the strap around your neck, clip on the safety loop in your camera harness, don't leave it unattended, don't leave it on the front seat of your car with a flashing neon sign saying 'break glass here for free camera', etcetera.
For underwater cameras, try attaching a float if your camera is light enough or make sure it's strapped to you in two ways - you might need both hands in the water, so a loose wrist strap won't cut it.
7. Use your camera's WiFi functions
Your camera might have a WiFi function, meaning it can generate its own WiFi to allow you to connect your phone directly to your camera even if there's no regular WiFi available. Through your camera maker's app, you can view your photos and download them to your phone.
The Canon and Olympus apps I've used for this have left a lot to be desired so it isn't something I regularly use, but if you've taken a shot that's important to you or just feel paranoid after reading about idiots like me who drop their camera in the sea it's a useful way to quickly back up the best photos. If you've got loads of storage on your phone, you can go the whole hog and select 'import all'.
Using your camera's WiFi function is something you can do whilst sipping a pint at the beach bar; no need to hide yourself away with a laptop.
Check the settings to ensure you're importing the full file size and be patient if you're waiting for lots of files to import. Provided the phone and camera stay close to each other you can do this whilst travelling or walking around.
If you have regular WiFi or mobile data you can sync your phone to the cloud after importing from your camera, getting the images from your SD card to two backup places in one fell swoop.
8. Follow the rules with your storage cards
Years ago we were told that lots of things could prompt your SD card to pack it in and lose your photos. Things like taking photos as your camera's battery dies, removing the card from the reader without ejecting it, using cards in more than one device, failing to format a new SD card or even editing or rotating an image within the SD card.
I don't put too much stock by these ones, but generally treating your storage card with respect will reduce the chances of something going wrong.
9. Identify your camera
Identifying your camera can help you get it back if it's lost or stolen.
On my second trip to Australia, I left my camera on the plane. Airport staff wouldn't get it for me so I had to pay them $400 to ship it. In order for them to do that I had to show it was mine, and thankfully I'd put my details in a pocket of the case and added an RSPB swan pin to the front which made the generic black bag identifiable.
You could take a photo of your details, put them in the settings of the camera, write your post code on the camera itself, or put your details in the camera's case.
10. Share your photos
Finally, post your photos! Sharing your photos with friends and family and posting them on social media is a great way to connect and it also means that, at the very least, there's a medium-resolution version of your favourite photos out there somewhere.
Happy snapping
Hopefully these tips help someone avoid a moment of silliness that would lead to months of regret (or maybe I'm just dramatic when I lose my photos). I'd love to hear your horror stories and any recommendations you have for keeping your photos safe!
Share with your friends
Subscribe to learn more
Join me in exploring our natural world and cultural heritage as we learn how to protect and restore it. Get notified on my latest posts and a monthly newsletter on wider conversation topics for us to chat about.
Recent Posts
If you enjoyed this one, then you might like these too.